
Home security has become more accessible and efficient with the help of utilizing IP Cameras in this time of advanced technology. These cameras, also known as network cameras or Internet Protocol cameras, offer high-quality video surveillance and can be easily installed by beginners.
This article will guide you through the step-by-step process of setting up an IP camera installation to enhance your home or workplace’s security systems.
So read on, and learn more about IP Camera DIY installation from this guide:

Installation Guide of IP Camera for Beginners
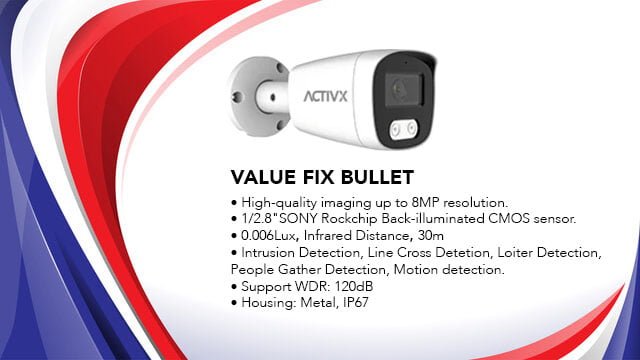
- Choose the Right IP Camera: Before you start the installation process, it’s essential to choose an IP camera that suits your specific needs. Consider factors such as resolution, field of view, night vision capabilities, and whether you need indoor or outdoor cameras.
- Gather Necessary Equipment: Make sure you have all the required equipment before you begin the installation. This typically includes the IP camera, power adapter, Ethernet cable (if applicable), and a device such as a computer or smartphone for configuration.
- Select a Suitable Location: Determine the optimal location for your IP camera. It should have a clear view of the area you want to monitor. If it’s an outdoor camera, ensure it’s weatherproof and mounted securely.
- Power the Camera: Connect the IP camera to a power source using the provided power adapter. Some cameras may also support Power over Ethernet (PoE), which allows power and data to be transmitted over a single Ethernet cable.
- Connect to the Network: If your IP camera supports Wi-Fi, follow the manufacturer’s instructions to connect it to your home Wi-Fi network. Alternatively, if you’re using an Ethernet cable, connect it to your router or network switch.
- Access Camera Settings: Use the manufacturer’s instructions to access the camera settings. This can often be done through a web browser by entering the camera’s IP address. Some cameras also have dedicated mobile apps for configuration.
- Configure Camera Settings: Set up important parameters such as date and time, motion detection, and video quality. Ensure that you create a strong password for the camera to enhance security.
- View the Camera Feed: Once the camera is configured, you can view the live feed on your computer or smartphone. Some cameras offer cloud storage options for recorded footage, while others may require a separate Network Video Recorder (NVR) or a microSD card.
- Test and Adjust: Conduct a thorough test of the camera’s functionality. Adjust the angle, focus, and other settings as needed to ensure optimal performance.
- Regular Maintenance: Keep your IP camera firmware up to date to benefit from security patches and improvements. Regularly clean the camera lens to maintain clear video quality.
- Secure Your Network: Ensure the security systems of your home network or workplace by setting a strong Wi-Fi password and enabling encryption (WPA3 is recommended). This helps prevent unauthorized access to your IP camera feed and protects your privacy.
- Optimize Camera Placement: Experiment with different camera angles and heights to find the optimal placement for maximum coverage. Avoid pointing the camera directly at bright light sources, as this can impact the clarity of the video feed.
- Enable Remote Access: Many IP cameras offer remote access, allowing you to view the live feed from anywhere with an internet connection. Configure this feature securely by using strong passwords and enabling two-factor authentication, if available.
- Set Up Motion Alerts: To enhance your security system’s effectiveness, configure motion detection settings on your IP Camera Installation. Enable email or push notifications to receive alerts when motion is detected, keeping you informed of any potential security events.
- Consider Storage Options: Determine how you want to store recorded footage. Some IP cameras offer cloud storage solutions, while others may support local storage on a microSD card or a dedicated Network Video Recorder (NVR). Choose the option that best suits your preferences and budget.
Important Attribute to Not Forget
Always remember to refer to the specific user manual provided by the camera manufacturer for detailed instructions on these additional points. By following all the steps mentioned above, you’ll not only ensure a successful DIY installation but also maximize the functionality and security of your IP Camera Installation system.
Concluding Thoughts
IP Camera Installation may seem daunting for beginners, but with the right equipment and guidance, it can be a straightforward process. By following this step-by-step guide, you can enhance the security system of your home and workplace, and enjoy the peace of mind that comes with real-time monitoring capabilities.
Remember to consult the specific instructions provided by the camera manufacturer for a seamless DIY installation experience.